

Welcome to my easy DIY guide on how to make a needle minder! As a crafter myself, I know how important it is to keep track of all those teeny-tiny needles, and that’s where a needle minder comes in handy. For those who don’t know, a needle minder is a small, magnetic tool that holds onto your needles while you work, keeping them safe and out of harm’s way.
In this guide, I’ll walk you through the process of making your own needle minder with just a few simple materials, and give you some creative ideas for personalizing your design. So let’s get started!
Key Takeaways:
- A needle minder is a magnetic tool that helps keep needles secure and organized during crafting activities.
- The materials needed for a DIY needle minder include a base, magnets, decorative elements, and adhesive.
- Creating a needle minder is an easy process that can be personalized with unique designs and decorations.
Materials Needed for Making a Needle Minder
Making a needle minder is a simple and fun DIY project that can be completed by crafters of all levels. Here is a list of materials you will need to get started:
| Materials | Description |
|---|---|
| Base | A flat surface to attach your magnets and decorative elements to. This can be a small piece of wood, plastic, or even a bottle cap. |
| Magnets | Small, strong magnets to hold your needles in place. You will need at least two magnets, but more can be added for larger bases. |
| Decorative elements | This can be anything from buttons and beads to stickers and fabric scraps. Use your creativity to personalize your needle minder! |
| Adhesive | Strong glue or double-sided tape to attach your magnets and decorative elements to the base. |
When selecting your materials, keep in mind the size and shape of your base. You will want to choose materials that will fit comfortably on the surface without overcrowding or looking cluttered. Additionally, make sure the magnets you select are strong enough to hold your needles in place securely.
With these materials on hand, you are ready to move on to the step-by-step guide for making your own needle minder!
Step-by-Step Guide to Making a Needle Minder
Making a needle minder is a fun and easy DIY project that any crafter can do. By following these simple steps, you can quickly create a useful tool to keep your needles safe and secure:
- Choose a base for your needle minder. This can be anything flat and sturdy, such as a piece of felt, a button, or a small piece of wood. Keep in mind that the base should be large enough to hold your needles.
- Cut a small magnet to fit the size of your base. You can find magnets at any craft or hardware store.
- Attach the magnet to the back of your base using a strong adhesive, such as super glue or epoxy. Let the adhesive dry completely before moving to the next step.
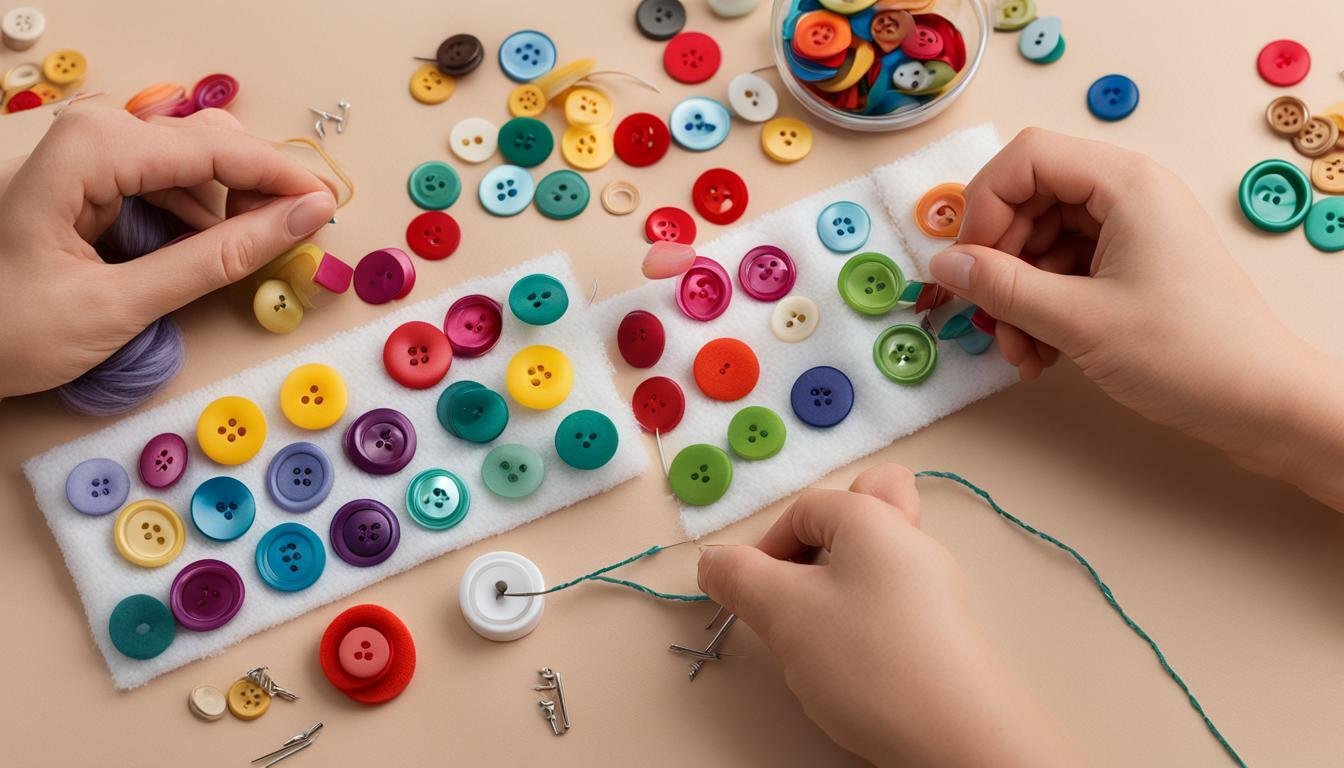
- Decorate the front of your needle minder with your favorite embellishments. You can use beads, buttons, embroidery floss, or any other decorative elements that you like.
- Once your embellishments are in place, cover the front of the needle minder with a layer of clear adhesive, such as clear nail polish or Mod Podge. This will protect your decorations from wear and tear and keep them in place.
And that’s it! You now have a custom-made needle minder that will keep your needles safe and organized while you work on your next crafting project.
Tip: You can make multiple needle minders at once and use them as gifts for your fellow crafters or sell them at a market or online.
Creative Ideas for Needle Minder Designs
Creating a personalized needle minder can be a fun and rewarding activity for crafters. Here are some creative ideas to get you started:
- Themed: Choose a theme that inspires you, such as flowers, animals, or holidays. Use small decorative elements, like charms or beads, to create a design that reflects your chosen theme.
- Colorful: Experiment with different color combinations to create a vibrant and eye-catching needle minder. Use brightly colored felt or fabric, or add colorful beads or sequins to the design.
- Patterned: Incorporate patterns into your needle minder design, such as stripes, polka dots, or chevrons. Use patterned paper or fabric, or add details with paint or markers.
- Personalized: Add your own personal touch to your needle minder by using your initials, favorite quotes, or other meaningful elements. Use letter beads or embroidery to add text to the design.
- Nature-inspired: Bring the beauty of nature into your needle minder design by incorporating elements like leaves, flowers, or animals. Use natural materials like wood or cork to create a rustic look.
Remember, the possibilities are endless when it comes to creating a unique and personalized needle minder. Let your creativity guide you and have fun!
Conclusion
There you have it! Making a needle minder is not only easy but also a fun crafting activity that you can enjoy. With just a few simple materials and easy-to-follow instructions, you can create a handy tool that will keep your needles in place and save you time and hassle during your crafting projects.
Remember, crafting is all about being creative and putting your personal touch on everything you make. So, don’t hesitate to experiment with different designs and embellishments to make your needle minder truly unique.
I hope this article has inspired you to try making your own needle minder and that you find it to be a useful addition to your crafting toolkit. Happy crafting!
FAQ
Q: What is a needle minder?
A: A needle minder is a small tool used by crafters to hold their needles while working on sewing, cross-stitch, or other needlework projects. It typically consists of a decorative top piece and a magnet on the back.
Q: How does a needle minder work?
A: The magnet on the back of the needle minder holds the needle securely in place, preventing it from getting lost or slipping out of the fabric. Crafters can easily attach their needle to the minder when not in use and retrieve it whenever needed.
Q: What materials are needed to make a needle minder?
A: To make a needle minder, you will need a base, such as a button or a small piece of fabric, magnets, adhesive, and any decorative elements you want to include, such as beads, charms, or fabric embellishments.
Q: Can I personalize my needle minder?
A: Absolutely! One of the great things about making your own needle minder is the ability to personalize it. You can choose materials and decorations that reflect your personal style and preferences, making your needle minder unique and special.
Q: Are needle minders only for experienced crafters?
A: Not at all! Making a needle minder is a beginner-friendly craft project that can be enjoyed by crafters of all skill levels. The step-by-step guide provided in this article will make it easy for anyone to create their own needle minder.
Q: What are some creative ideas for needle minder designs?
A: The possibilities are endless when it comes to needle minder designs. You can create needle minders inspired by nature, animals, holidays, or your favorite hobbies. Experiment with different colors, patterns, and embellishments to make your needle minder truly one-of-a-kind.

I've immersed myself in vast literature, seminars, and insightful discussions over the years, shaping my passion for self-awareness. Here, you'll find valuable articles, interviews, and resources designed for your self-discovery. I prioritize actionable wisdom, providing tools for real-world personal growth.
- Self Harm Awareness Ribbon Color: Unveiling Its Meaning - August 21, 2023
- What Is Emotional Self Awareness: A Guide to Inner Growth - August 21, 2023
- Self Harm Awareness Bracelets: Show Support and Share Hope - August 21, 2023